Blog
In an era marked by growing environmental awareness and sustainability concerns, businesses are increasingly turning to eco-friendly solutions to minimize their carbon footprint and contribute to a greener future. Thermal labels offer a significant opportunity for brands to make a positive impact by opting for sustainable materials. Let’s delve into…
In today’s competitive marketplace, where brands are vying for consumer attention, packaging plays a pivotal role in shaping brand perception and influencing customer experience. Within the realm of packaging, labels serve as the face of the product, conveying vital information and communicating brand identity. Let’s explore the profound impact of…
In the dynamic world of e-commerce, where products vie for attention amidst a sea of offerings, effective labelling strategies are paramount for maximising sales and capturing consumer interest. Labels serve as virtual ambassadors for your products, conveying essential information and enticing customers to make purchasing decisions. At Labels Zoo, we…
In the realm of labelling, ensuring seamless compatibility between labels and printers is paramount. The right label may offer durability, clarity, and functionality, but without compatibility with your printer, these benefits may remain out of reach. At Labels Zoo, we understand the significance of printer compatibility and provide solutions that…
The Importance of Retailer Compatibility In today’s fast-paced retail environment, efficiency and compatibility are paramount. Retailers rely on seamless integration between their point-of-sale (POS) systems and labelling solutions to ensure smooth operations and accurate transactions. At Labels Zoo, we understand the importance of retailer compatibility, which is why our label…
01/31/2024
The launch of Integrity Communications Group
Elevating Your Label Experience Labels Zoo is proud to be part of the dynamic Labels Division within Integrity Communications Group (ICG), and we are excited to celebrate the launch of the new ICG website. At Labels Zoo, our commitment to providing top-tier, plain labels for B2B ventures is enhanced by…
Barcode labels are one of the most important ways to identify your products, assets, or employees. You can use them for inventory tracking, identifying products and more. They’re used in manufacturing industries, retail businesses, stock rooms and many other industries, varying across most sectors. Throughout this blog post we’ll share…
05/13/2023
How To Print Labels at Home
When you’re running a business, it can be difficult to keep track of all the different tasks that need to get done. Among them are things such as invoicing customers, printing sales receipts and shipping labels. Printing labels at home can be an easy task that can save you time…
A thermal label is a product that uses a thermal print head to heat specific areas of the label to transfer relevant information. The most common form of direct thermal printing is a label, but this technique can also be used in printed products such as posters and signs. Direct…
03/02/2023
The Ultimate Guide To Creative Label Design
Label design is an art form and very important within your business. It can be used to convey information about a product or impact the perceived quality of the contents it is stuck to. When done well, label design can help you stand out from competition and generate more sales,…
Label adhesives An adhesive label is designed to be affixed to any surface, with different types of adhesives being more suitable in certain situations than others. The two main types of adhesives are permanent and removable. Each type can be made from a variety of different materials. The materials chosen…
06/21/2022
The Uses and Benefits of Printer Labels
What are printer labels? Printer labels are usually A4 sheets of plain labels for your laser or inkjet printer, so you can print what you need, stay in control, and use as you go. These types of labels can usually fit a huge variety of labels per sheet, and we…
04/29/2022
The Uses and Benefits of Packaging Labels
What are packaging labels? Here at Labels Zoo we produce a variety of high-quality labels, and one of our best sellers is our packaging labels in high-quality rolls of labels that come in two sizes and are made with super sticky adhesive. These are labels that usually contain a graphic…
03/23/2022
What are Integrated Labels?
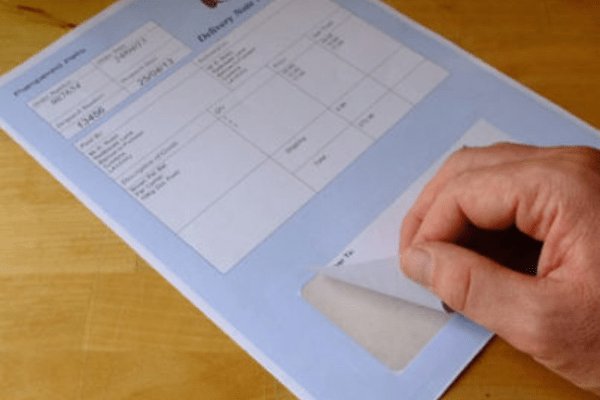
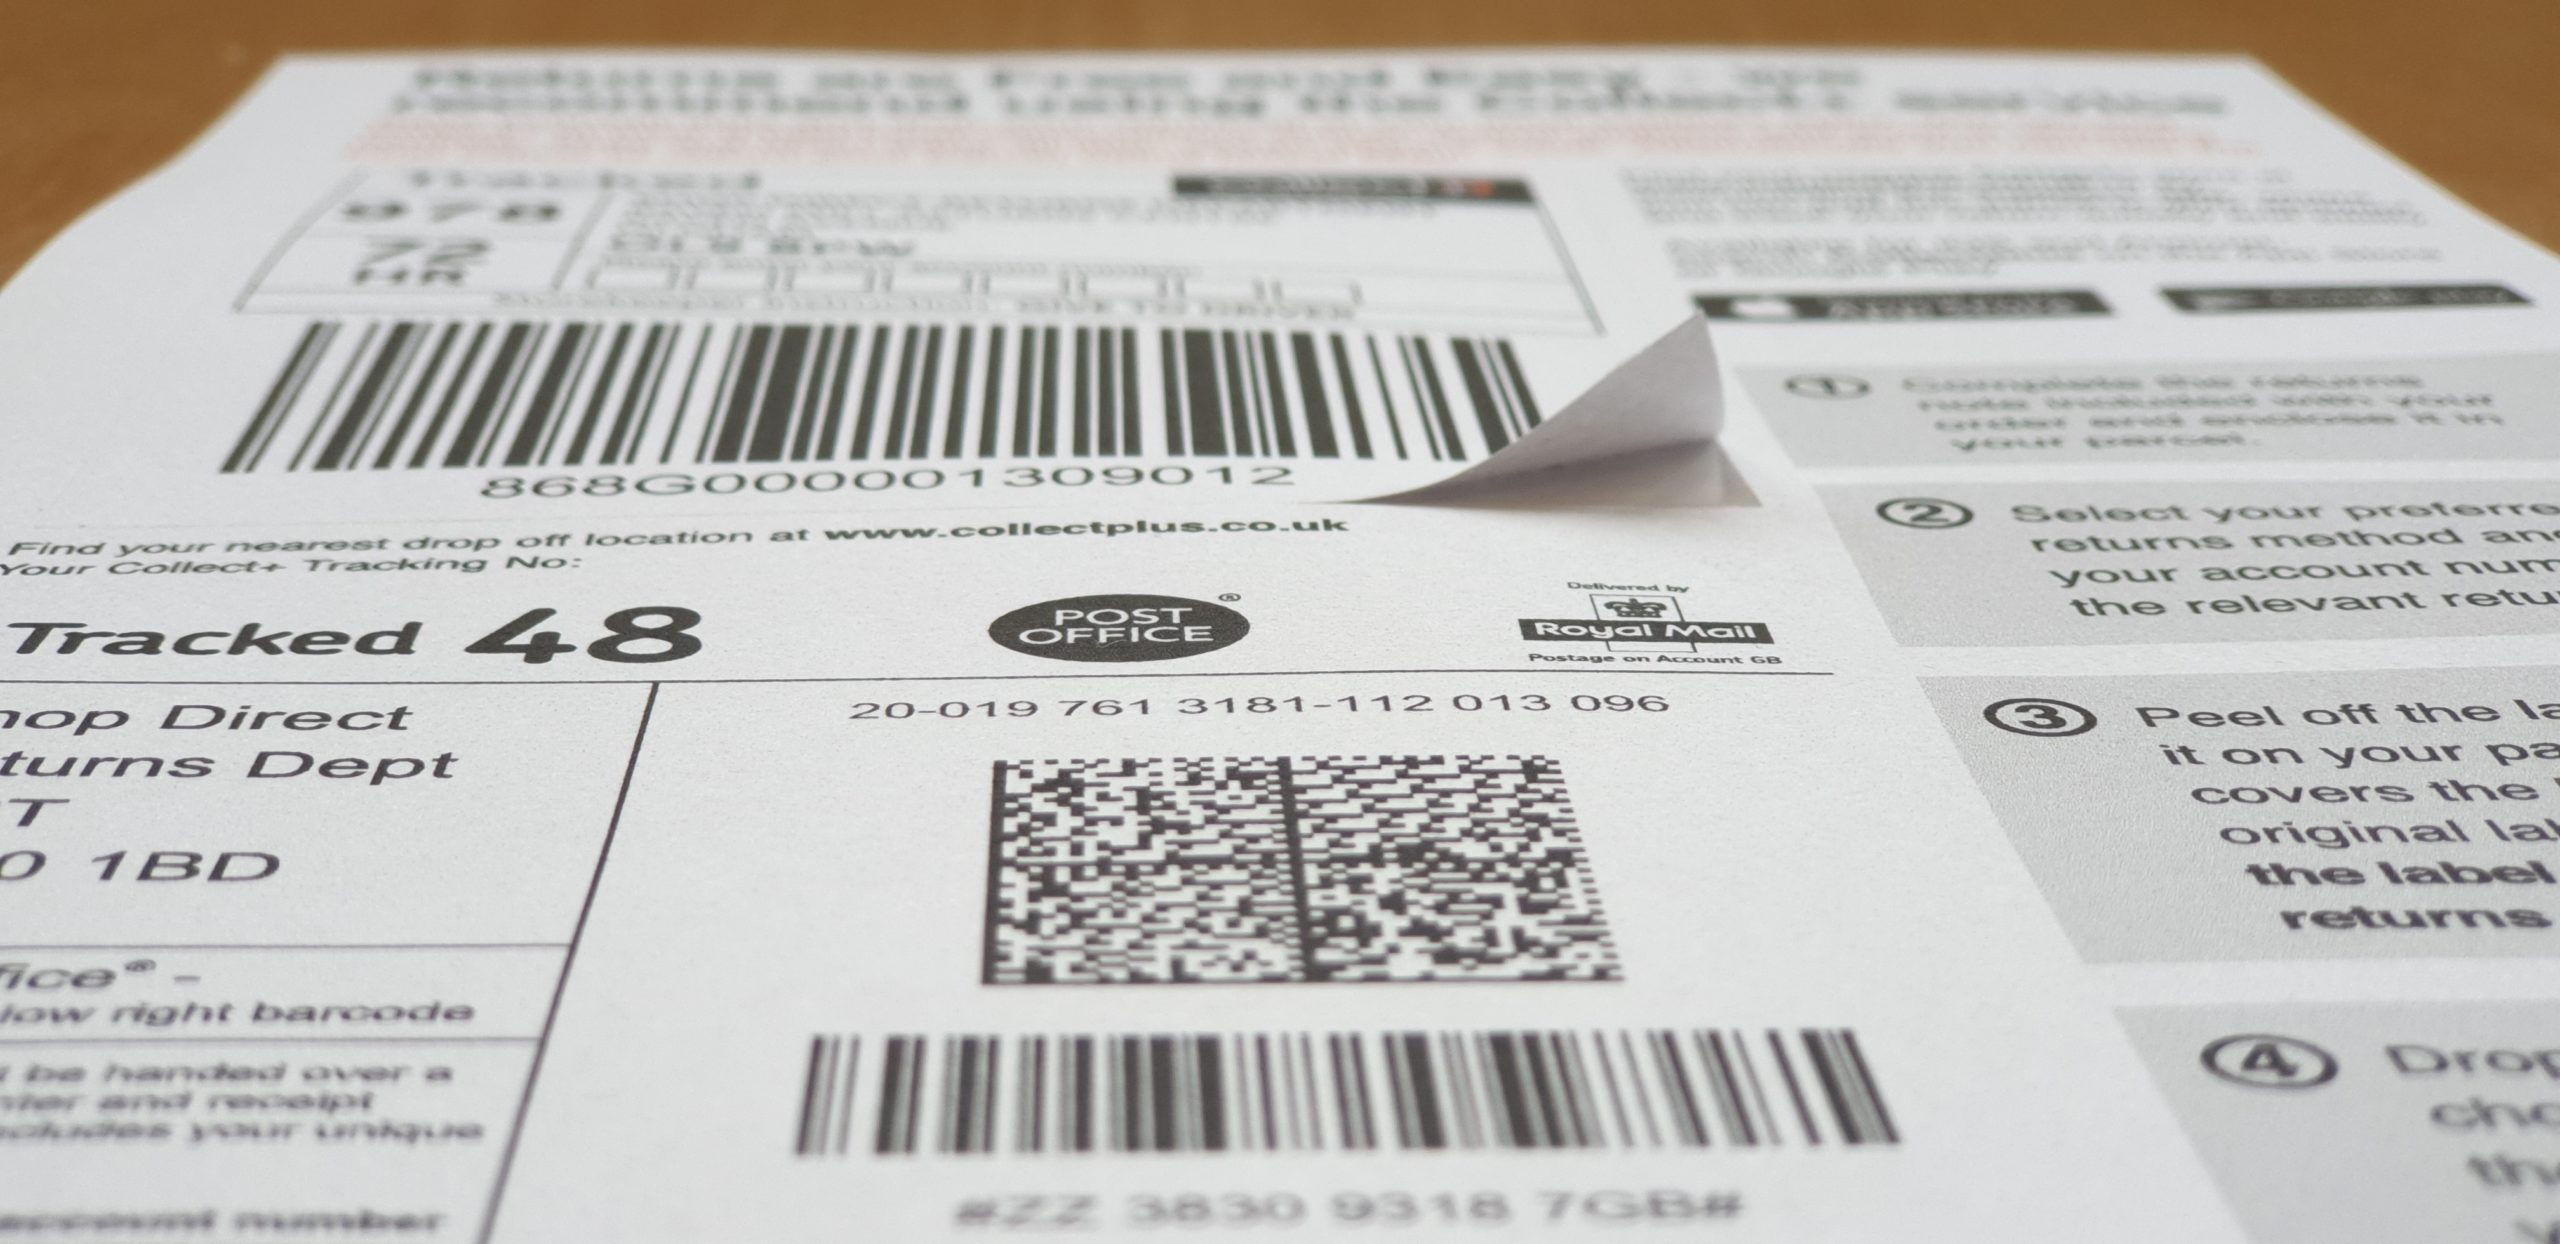
What Are Integrated Labels? Integrated labels, sometimes known as ‘integral labels’, ‘peel-out labels’ or ‘shipping labels’ are a paper-based document, usually A4 in size, with adhesive labels incorporated into it. This simple label and paper combination can save order processing time and improve order accuracy, as well as labour efficiency.…
Since March, UK online retail sales have spiked to record levels, leading to an increased demand for integrated labels and record sales for Labels Zoo. With the panic-buying trend in March, UK supermarkets saw an unprecedented rise in the demand for essential items, with shelves being left empty across much…
07/21/2020
The Uses and Benefits of Integrated Labels
What are Integrated Labels? An integrated label is a paper document, usually A4 in size, with one or more self-adhesive labels incorporated. Integrated labels are also referred to as ‘Shipping Labels’, ‘Integral Labels’ or ‘Peel Out’ labels. In Demand According to a report from Oberlo, global ecommerce sales amounted to…
07/06/2020
What Are Thermal Labels?
Thermal label printers use heat to create to an image. There are two main types of thermal printing techniques: direct thermal and thermal transfer. Direct Thermal The label surface is coated with a heat reactive layer which turns black when in contact with the heat from the print head. This…


